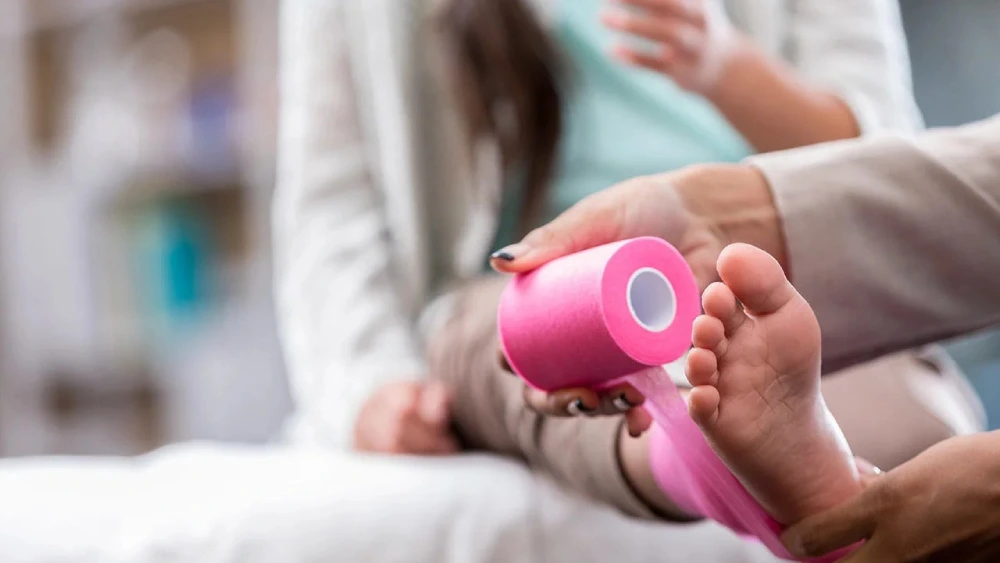
When you open a first aid kit, the items you reach for most often are probably tape and bandages. They may seem simple, but these everyday supplies are the backbone of wound care – from a paper cut in the kitchen to a deep gash on a job site. Knowing which type to use and how to apply them correctly can mean the difference between quick healing and complications like infection or re-injury. In this comprehensive guide, we’ll dive into why tape and bandages are critical, explore the different varieties, and walk you through proper application techniques so you’re always prepared.
Whether you’re a parent, a hiker, a workplace safety officer, or just someone who wants to be ready for life’s little accidents, mastering these basics will make you more confident in emergencies. Let’s start with the fundamentals.
1. What Are Tape and Bandages?
At their core, tape and bandages are medical supplies designed to protect wounds, secure dressings, and support healing. Bandages are flexible strips or rolls that cover an injury – they may be adhesive (like a band-aid) or non-adhesive (like gauze or elastic wraps). Their primary job is to shield the wound from dirt, bacteria, and friction, while also absorbing fluids and applying gentle pressure to control bleeding.
Medical tape, on the other hand, is a pressure-sensitive adhesive strip used to anchor gauze, splints, or bandages in place. It comes in materials such as cloth (breathable and strong), paper (gentle on skin), plastic (water-resistant), and silk or micropore (hypoallergenic). Together, tape and bandages form a versatile team: the bandage does the heavy lifting of protection, while the tape keeps everything securely positioned.
Historically, bandages date back thousands of years – the ancient Egyptians used linen strips with honey and resins. Today’s versions are far more advanced, featuring sterile layers, waterproof coatings, and antimicrobial properties. The range available means there’s a perfect solution for every injury size, location, and severity.
2. Why Are Tape and Bandages Essential in First Aid?
In first aid situations, tape and bandages play several key roles that can be life-saving or prevent minor injuries from turning serious. Here’s a closer look at each function:
🔹 Protection: A bandage creates a physical barrier between the wound and the environment. This prevents bacteria, dust, and other contaminants from entering, which is the first line of defense against infection. For example, if you get a deep cut while gardening, covering it with a sterile gauze pad secured with tape keeps soil out while the wound starts to heal.
🔹 Pressure & Hemostasis: Applying firm, even pressure over a bleeding wound is the most effective way to stop blood loss. A thick gauze pad held tightly with a wrap bandage or tape creates a pressure dressing. In cases of arterial bleeding from a limb, a pressure bandage can buy vital minutes while emergency services arrive.
🔹 Immobilization & Support: Elastic bandages are excellent for stabilizing sprained ankles, strained wrists, or dislocated fingers. By limiting movement, they reduce pain and prevent further damage to ligaments or tendons. Tape can also be used to splint a broken finger by buddy-taping it to an adjacent finger.
🔹 Securement: After cleaning a wound and placing a dressing, medical tape ensures the dressing stays put – even if the person is moving, walking, or lying down. Without tape, gauze can shift, exposing the wound to contamination or causing friction blisters.
In short, tape and bandages are not just “nice to have” – they are functional tools that perform multiple critical jobs simultaneously.
3. Types of Tape and Bandages
With so many options on the market, choosing the right type for your needs is important. Here’s a breakdown of the most common ones, along with their best uses:
Highly absorbent; can be layered; requires tape or a wrap to secure; some have sterile contact layer
Elastic Bandages (ACE / Cohesive)
Sprains, strains, joint support, compression
Stretchable fabric that conforms; can apply graduated pressure; self-cling or with clips
Medical Tape – Cloth
Heavy-duty securement, splinting
Strong adhesion; tears easily by hand; breathable; may irritate sensitive skin
Medical Tape – Paper
Sensitive skin, elderly, neonates
Gentle, porous; minimal residue; not waterproof – use for dressings that change often
Medical Tape – Plastic / Silicone
Waterproof need, prolonged wear
Clear or opaque; stays on even with moisture; silicone version is ultra-gentle but expensive
Hydrocolloid Dressings
Blisters, burns, chronic wounds
Self-adhesive; creates moist healing environment; absorbs exudate; waterproof; change every 3–5 days
Transparent Film Dressings
IV sites, small superficial wounds
Clear, breathable, waterproof; allows wound inspection without removal; low adhesion to skin
For a well-stocked first aid kit, include at least adhesive bandages in multiple sizes, a roll of gauze, an elastic bandage, and a roll of cloth or paper tape. This combination covers 90% of common injuries.
4. How to Properly Apply Tape and Bandages
Knowing the right technique is just as important as having the right supplies. Follow these steps for effective wound care:
Clean the wound first. Use clean water or sterile saline to rinse away dirt and debris. Pat the surrounding skin dry – tape sticks better to dry skin. For minor wounds, you can use an antiseptic wipe.
Apply a sterile dressing. Place a gauze pad or non-stick pad directly over the wound. Make sure it extends beyond the wound edges by at least 1 cm (½ inch) to absorb any drainage.
Secure with tape. Cut or tear two to four strips of medical tape. Place them over the dressing and onto the healthy skin around it. Avoid taping over the wound itself. Ensure the tape is snug but not tight enough to wrinkle the skin or restrict blood flow.
Wrap with a bandage (if needed). For larger wounds, sprains, or injuries that need compression, apply a rolled gauze or elastic bandage over the taped dressing. Start at the farthest point from the heart and wrap toward the heart. Overlap each layer by half the bandage’s width.
Check circulation. After wrapping, check for signs of impaired blood flow – pale or bluish skin, numbness, tingling, or a weak pulse beyond the bandage. If you notice any, loosen the wrap immediately.
Special tips: For joints (elbows, knees), apply tape in a figure-eight pattern to allow a natural range of motion. For finger tip injuries, use a “finger-cot” or wrap gauze around the entire digit and secure with small tape strips.
5. Common Mistakes to Avoid
Even with good intentions, people often make errors that hinder healing or cause harm. Here are the most frequent pitfalls:
Wrapping too tightly. An overly tight bandage can cut off circulation, leading to tissue damage (compartment syndrome) in severe cases. The rule: you should be able to slide one finger underneath the bandage after wrapping.
Not changing dressings regularly. A bandage that stays on for days without being replaced can trap moisture and bacteria against the wound, dramatically increasing infection risk. Change at least once a day – or immediately if the dressing becomes wet, soiled, or bloody.
Using the wrong type of bandage. An elastic bandage on an open wound (without a non-stick layer) will stick to the wound and cause pain and bleeding when removed. Likewise, using paper tape on an actively bleeding wound will fail because the tape loses adhesion when wet.
Reusing tape or bandages. Once tape has been applied and removed, its adhesive is compromised. Reusing it can lead to a loose dressing or irritation. Always use fresh supplies from sterile packaging.
Ignoring allergic reactions. Some people are sensitive to the adhesive in tape. If the skin becomes red, itchy, or blistered, switch to hypoallergenic paper tape or silicone tape.
6. When to Seek Medical Help
Tape and bandages are excellent for minor to moderate injuries, but some situations require professional medical attention. Seek help if:
The wound is deep, long, or located on the face, hands, feet, or over a joint (may need stitches).
Bleeding does not stop after 10–15 minutes of continuous direct pressure.
The injury involves a fracture, dislocation, or suspected spinal injury.
Signs of infection develop – increased redness, swelling, warmth, pus, or red streaks radiating from the wound.
The person has a fever, or if the wound was caused by a rusty metal object (tetanus risk).
The injury is a serious burn (larger than 3 inches, blistering, charred skin).
In these cases, apply basic first aid, keep the wound covered with a clean bandage, and get the patient to a doctor or emergency room as soon as possible.
7. Stocking Your First Aid Kit: Quality Matters
Not all tape and bandages are created equal. Buying cheap, low-adhesion tape or thin gauze can leave you unprepared. Look for products that are:
Sterile: Individually wrapped gauze pads and bandages ensure cleanliness.
Breathable: To reduce moisture buildup under the bandage.
Latex-free: Many people have latex allergies – choose synthetic alternatives.
Strong yet gentle: Tape should hold firmly but peel off without ripping skin.
Check your first aid kit every three months. Replace any items with torn packaging, melted adhesive, or expired labels. A well-maintained kit gives you peace of mind and saves precious time in an emergency.